Create & Import Your First Cluster
This section will guide you through creating your first cluster and importing it into Rancher Manager. Two alternative methods for cluster provisioning are presented: using a GitOps workflow with Fleet and manually applying the manifests via kubectl.
Prerequisites
-
Rancher Manager cluster
-
Cluster API providers installed for your scenario - we’ll be using the Docker infrastructure and RKE2 bootstrap/control plane providers in these instructions - see Initialization for common providers using Turtles'
CAPIProvider
Provision a CAPI Workload Cluster
-
GitOps using Fleet
-
Manually using kubectl
Configure your Fleet repository
To simplify the process of cluster provisioning, in this tutorial we will be using a pre-configured example that you can find in the repository https://github.com/rancher/turtles/tree/main/examples. By inspecting the contents of this repository, you will find:
-
A clusterclasses folder with a bunch of ClusterClass examples.
-
An applications folder with a set of resources used for installing cluster dependencies such as CNIs via Fleet.
-
A clusters/docker/rke2 folder with an example of a Docker cluster definition.
If you prefer, you can create your own Fleet repository using the same base structure.
Use Rancher UI to add your Fleet repository
Now the cluster definitions are committed to a git repository they can be used to provision the clusters. To do this they will need to be imported into the Rancher Manager cluster (which is also acting as a Cluster API management cluster) using the Continuous Delivery feature (which uses Fleet).
-
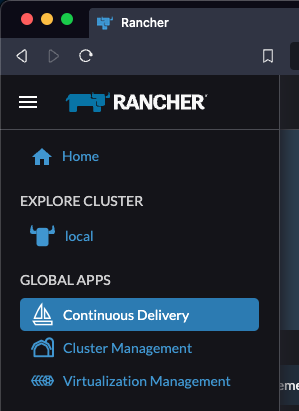
Go to Rancher Manager.
-
Select Continuous Delivery from the menu:
-
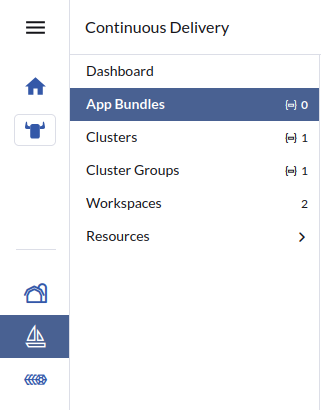
Select App Bundles from the submenu:
-
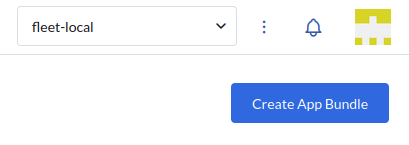
Select fleet-local as the namespace from the top right and then click on the Create App Bundle button:
-
Select Git Repos as the App Bundle type.
-
In Step 1 of the App Bundle creation flow, give the new bundle a name and description.
-
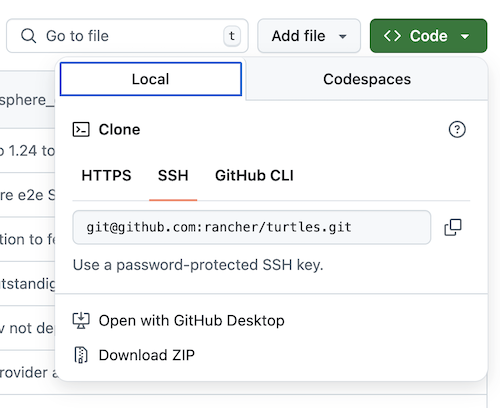
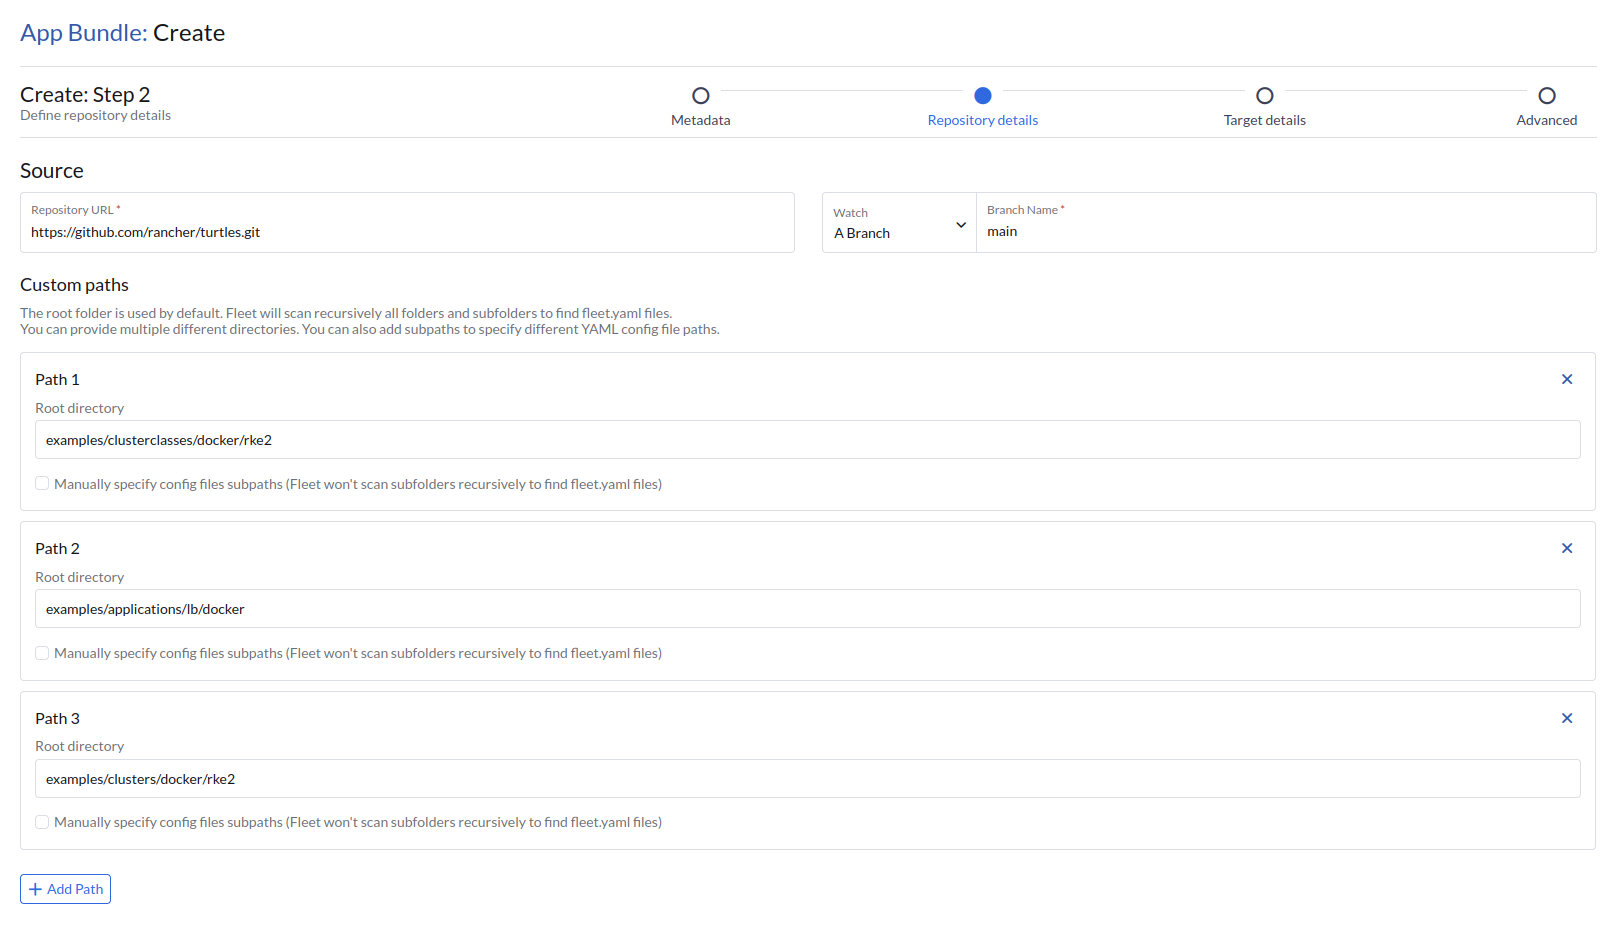
In Step 2 of the App Bundle creation flow, set the repository URL to the HTTPS URL of the Fleet repo. You can find and copy the URL using GitHub:
-
Change the branch name to main.
-
Add the following paths to specify which directories to deploy:
examples/clusterclasses/docker/rke2
examples/applications/lb/docker
examples/clusters/docker/rke2
-
Click Next to move to Step 3 and ensure that the App Bundle will be deployed to the local cluster.
-
Click Next again to move to Step 4 and then click Create to complete creation of this App Bundle.
-
Wait for the App Bundle state to become active, at which point the cluster has been provisioned successfully.
-
Select Cluster Management from the menu.
-
Check your cluster has been imported.
Apply the cluster resources
To create the cluster using kubectl, run the following commands:
-
Open a terminal and apply the ClusterClass and related templates:
kubectl apply -f https://raw.githubusercontent.com/rancher/turtles/refs/heads/main/examples/clusterclasses/docker/rke2/clusterclass-docker-rke2.yaml -
Apply the load balancer configuration:
kubectl apply -f https://raw.githubusercontent.com/rancher/turtles/refs/heads/main/examples/applications/lb/docker/configmap.yaml -
Create the cluster:
kubectl apply -f https://raw.githubusercontent.com/rancher/turtles/refs/heads/main/examples/clusters/docker/rke2/cluster.yaml -
Watch the resources become ready:
kubectl get clusters -w -
Select Cluster Management from the menu
-
Check your cluster has been imported
Next Steps: Wait for the cluster to appear in the Rancher Dashboard
The cluster provisioned in this tutorial contains the cluster-api.cattle.io/rancher-auto-import label.
This label will instruct Turtles to automatically import the cluster into Rancher.
For more information please refer to Rancher Cluster Registration.